THE NEW SEATS IN BBM69
The seats just collected from Nightingale Coachtrimming with magnificent new covers. December 2020.
We now have the complete set of new seats, 2021. We specifically asked David to make the new seat squabs floppy, not tight as in most cars. With the float on air cushions, the instructions in the handbook were, to be able to touch the bottom metal when pressing down with a fist! So very soft.
The front seats in BBM69 have been problematic for as long as I can remember. Originally they were grey, as was the car, at some time in the distant past they were painted brown when the car was resprayed black, it is now maroon! The two squabs were replaced with brown ones from another car, again at some time in the past. Over the years the brown paint has begun to wear off the seat backs and the leather to deteriorate. I had replaced the Mosely float on air cushions in 1999 but now, in 2020 they have given up the ghost, I have not been able to source new ones. The leather on the squabs is also split and the stitching failing. This was the shape we had in mind for the new squabs.
A decision was made to source two seat squabs and have them refurbished professionally, thus retaining the seats as we have known them through the years. In 2020 one of my occasional searches on the internet came up with two complete fronts seats, in blue, for sale in Wolverhampton at £300, though they looked very tatty they were immediately purchased.
Though described as framework OK it can be seen there is a lot of work needed. I contacted David Nightingale as to how to proceed, his advice was to remove all covers and refurbish the metal and woodwork myself. The aim is to rebuild the seat squabs as the original, with the option of fitting the float on air blow up cushions.
My aim was to end up with two fully functional seats that could be adjusted fore and aft, something the existing seats will not do. It is obvious from the state of all the seats that the metal work has not been strong enough to withstand 83 years of use!
The runners on the seat were deformed, to straighten one of the seat runners I had to remove it. What appeared to be three rivets turned out to be three rivets and numerous spot welds! They all needed to be drilled out to free the runner.
I straightened the runner and re riveted (solid 1/4 in. Flat head steel rivets) it to the seat with a reinforcing steel strip.
The base runners have been re-inforced and new hinges fitted. An extra strip of steel has been riveted under the runner. The added strut across the front was required as the runners were deformed, 5mm closer at the front than at the back. This prevented them sliding smoothly. I was concerned about bringing stresses to the rear strut, these stresses were releaved by heating the center of the strut to nearly red hot.
I have sourced some good replacement hinges, unfortunately they are in line and I needed joggled ones. Pin removed and bolts fitted instead.
 Shock horror, I refurbished the driver’s seat first. When I inspected the side frame for the passenger seat I found it was over an inch longer? The reason seems to be that each were severely damaged, by the hinges, so the broken bit was sawn off the driver’s side! I will shorten the passenger seat frame to match. I have always intended to support the rear of the seats in the car but this makes it more important than ever.
“A” is the as bought hinge and “B” is the modified hinge.
A plywood insert at the base of the backrest was rotten, so I made a new one of two laminations of 1/16th ply. This is held in place by hollow rivets, as per the original.
The wooden sides of the squabs were quite badly cracked round the sharp curve, since they were made, I would suppose. I filled the cracks with araldite and re-profiled the corners.
All the metal work has surface rust on it, some of it severe. I wire brushed it off and sprayed with hammarite smooth black. David Nightingale agrees with this choice, it is one of the paints not affected by the glues he uses.
Having wondered how our seats are put together I took the opportunity of disecting one to see. It has a small roll at the top and a large one at the bottom with layers of horse hair in between. Thinner at the top than the bottom. The flutes are leather and the bottom flap is rexine. The back is rexine with a thin layer of felt under it.
There is beading round the seat,the smaller one is wrapped round a cane and the larger one is rolled material round a wire core. Both tacked to the wood structure.
Fibre padding round the seat front. On the right are one waiting repair and one that has been repaired by laminating with thick gasket material.
The seat structures finished and ready for re-upholsery.
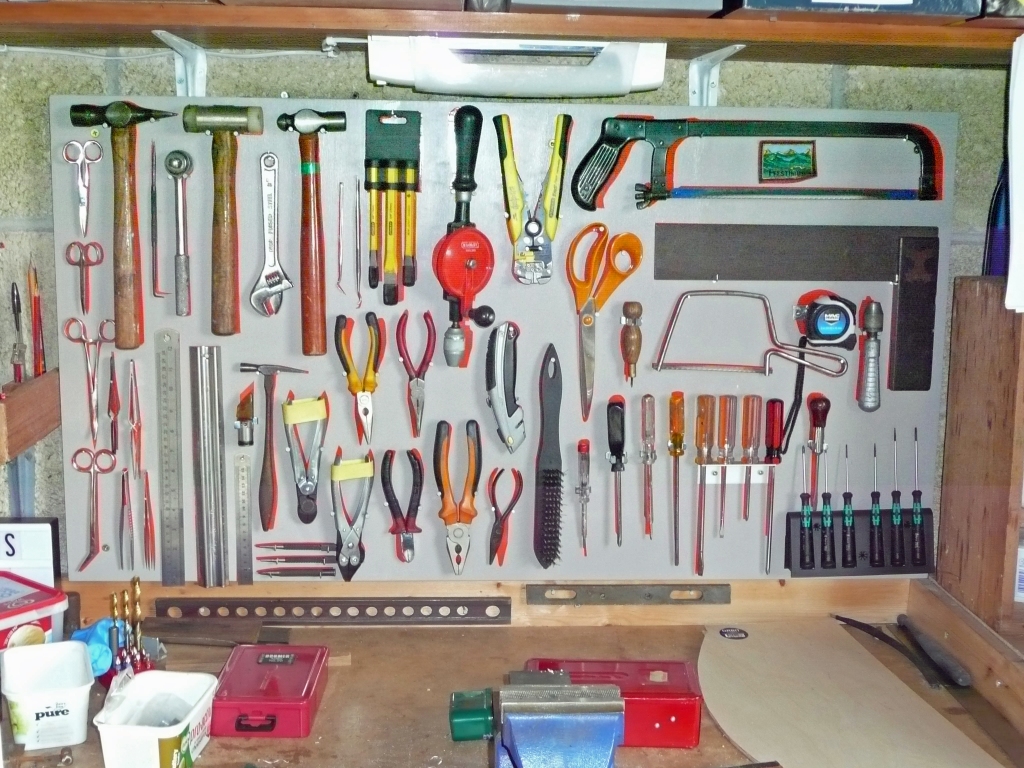
I have found the new tool board a great help when working on the seats. Having tools at hand makes work much easier.


